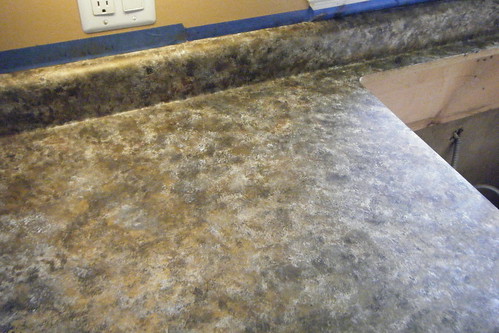
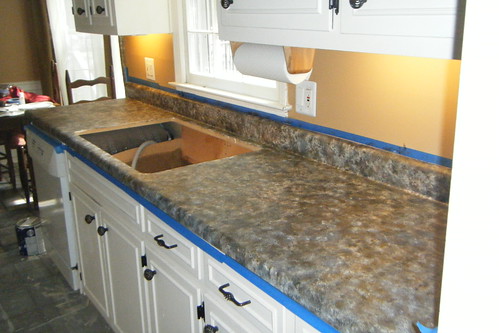
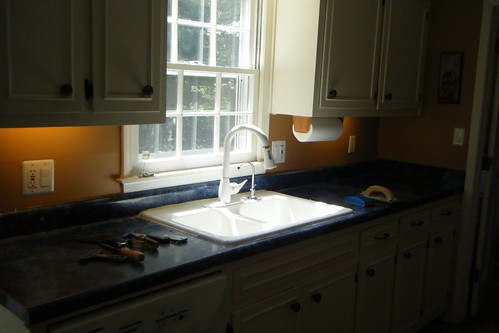
When renovating your kitchen counters that are hideously colored blue (with craft paint and resin of course), you should do the following:
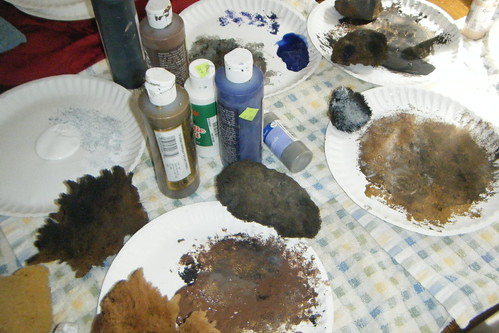
Step One: Invite lots of help for your diy endeavors. Oh, and lots of sponges and craft paint:
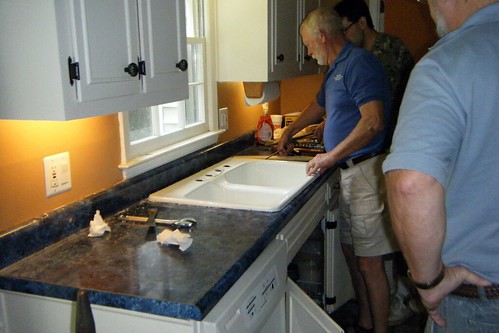
Step Two: Make Sure there are lots of menfolk in the invitees to remove the sink. Dude with the dark blue shirt and white beard is my Dad. Shhh! Don't tell, but he just had his 66th birthday two days ago!
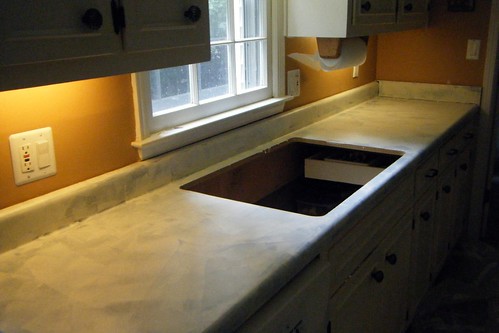
Step Three: After shooing away all the menfolk, I rolled on the same paint that I used on my cabinets and wall trim:
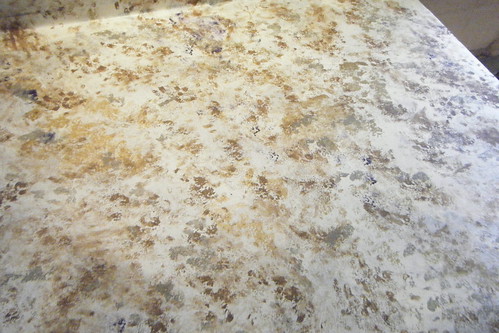
Step Four: This is how it looked when we first started sponging on the craft paints. Pretty yucky huh?
Step Five: But look what happens when you add a bit more:
Step Six: After several (like a hundred more) trips to the table back and forth to where the craft paint is, step back and admire how pretty it looks so far!
Next step, Resin!
Wednesday, June 30, 2010
Tuesday, June 29, 2010
Counter #3 DIY
And so we begin again. This is the third and last installment of the counter top renovation. Yay! It feels like I've been dragging this project out forever, but it's almost done. Here's how it currently looks:
This is the largest area that I will have renovated. Normally my microwave is in the far right hand corner and also missing is the crap that seems to accumulate on all flat surfaces in my home. Also not shown: how my other counters are now covered up with the stuff that came off of this counter.
Today I started removing caulk from around the sink in preparation to pulling said sink out. This part totally sucks and I'm not enjoying it. Some of the caulk is almost 30 years old and really doesn't want to give up the ghost. I've resorted to this arsenal to help in its removal:
If that doesn't work I might try some C4 or TNT. Anybody got some to spare?
IF, and that's a BIG IF by the way, I can get the caulk removed sometime today, I'm going to go ahead and put a base coat of paint on the surface. I'll stay about 2 or 3 inches from the sink though since we will be removing the sink tomorrow morning.
The full plan for tomorrow involves sink removal, paint, lots more craft paint, and pouring of resin. Then I get to devise a way to keep two very nosy cats away from the kitchen so that I don't find little cat prints destroying all my hard work later. I will then be deserting the house for a few days while the resin cures. Yes, there will be someone checking on my two deserted kitties so don't send PETA after me, ok? That's a lot to get done in one little day. Wish me luck. Off to do more scraping!
Monday, June 28, 2010
Freezer Treats
I keep most of my images up in my Flickr account. I recently had someone complain (don't know who they were) that I don't title my images. Well, if they don't like it, that's just too bad. While many and varied, my hobbies do not include photography. There are so many folks over at flickr that show off their fantastic picture taking skills. I am not one of them nor do I have those picture taking skills. I use flickr for the blog and that's it. Oh, and as a backup of my digital pics. I just don't understand someone going after me to complain because I don't title my image. Don't they have anything better to do?
Like making Freezer Treats?
Freezer Treats have become a staple at our house. The kids beg for them and I try my best to hide them from everyone else so that I can snack on them late at night. :) They are low caloried, sweet and chewy. They satisfy the snack monster in me without packing a wallop to the hips. Yay!
My Mom got this idea from some folks over at Weight Watchers many years ago and I thought that I'd pass it along to you. I promise, after a couple of these, your family will start fighting over them too.
Freezer Treats:
Chocolate Graham Crackers
Fat Free Cool Whip
Break the cracker into halves, apply 1 to 2 Tbsp cool whip to the cracker, put the other half on top. That's it!
It's so simple. The trick though, to these becoming really good, is to make them, then pop them into your freezer and walk away for several hours or even a full day. The crackers absorb the moisture from the cool whip and become really soft and chewy, tasting a lot like an ice cream sandwich. Two of these babies will run about 150 calories total!
Enjoy!
Subscribe to:
Comments (Atom)

