Friday, July 18, 2008

Spinning Wheel Cozy

Yesterday was an all-time low in dealing with two year old tantrums. The whole day absolutely sucked from the time we got up until we threw the Youngest into his bed in disgust that night. Someone please tell me they grow out of this?

He was quite funny today though. We went into a used sports equipment shop and bought a bike for the Eldest. Well. The Youngest wasn't going to stand for his big brother getting one and not him, by golly. He marched himself over to the men's mountain bikes (the costly ones) and tried to get on one. He stood right there in the middle of the store and demanded one. It was a hoot. He already has a fisher-price bike, but try telling anything to an independent two year old. They don't reason well at that age.

Anyway, by the end of the day (yesterday) I was too frazzled to knit or do much that required thought. But I desperately needed something different to keep me occupied and I found it.

I made a Spinning Wheel Cozy! A few years ago when I was heavy into sewing handbags and totes, a friend gave me some beautiful upholstery fabric and that's what I used for the cozy.
The new Spinning Wheel Cozy!

I googled up a basic tea cozy pattern and sorta used it. I took careful measurements of the wheel and started cutting fabric. Most of those measurements went out the window of course. It started looking way too huge. So I pinned and cut, and then pinned and cut again before I started sewing. There is no lining, but it is hemmed. I left the hem a little long so that I can tuck the fabric up under the wheel.

Why did I make one? You try having a wheel sit on the floor in plain site of a very precocious 2 year old brat and a 10 month old puppy. It'd be destroyed in no time. By covering it, it's "out of site, out of mind." It kinda blends in with the wall color I have in my dining room/office. No one has even looked at it twice since it's been covered. Yeah!

Have a great weekend!

Thursday, July 17, 2008

Samples and techniques

Yesterday I showed you a pic of the "Lemon Sherbert Swirl" colorway. I spun it up (approx. fingering wt.) a tiny sample of it and this is how it turned out:
Click for detail

Much prettier than I expected. I like it anyway. The problem is, I never wear yellow. Makes me look sickly and washed out. I'm pale as pale can get, glaringly white even, so I don't know if this colorway is for me, but it was a dream to spin.

A fun thing happened yesterday. I taught myself a fun artyarn spinning technique. Most of my yarn has been "artyarn", albeit unintentionally. This time, I did it on purpose.

The technique came from the latest issue of Spinoff magazine. It's a core yarn. The technique is a bit tricky. You have to spin your wheel counterclockwise and use a handspindle that is spun clockwise. Your core yarn is on the spindle and your singles are on a bobbin on a lazy kate. You ply them together then stop and push the singles up on the core. You are not twisting the two together, but wrapping the singles around the core. It's a juggling game at first, but turns out very neat:

Click to enlarge for detail
I do have to warn you though. It eats up your singles like you wouldn't believe.

The tiny bit you see there is all I have, just a few yards. I have no clue what I'll ever do with it, but it's an interesting technique to learn anyway. The first thing my husband said when he saw it was "It'd make great dreadlocks!"

Wednesday, July 16, 2008

Mixed Bag

Today is kind of a mixed bag posting. I've got several things going on that I want to share with you:


Got a couple of new roving colorways for you:

The dark on is "Midnight in the Garden". A blend of wool and mohair that has all the colors of an English garden swirled with black for depth. I've got 2 oz. of it. I'm hoping to get my etsy store up and going and this will be up for sale on it. I'll let you know as soon as I get my act together.

The second is "Lemon Sherbert Swirl". It's strictly wool, no mohair. It's mainly a very light yellow with swirls of turquoise, orange and small hints of pink. The one you see is the only one completed so far. Do you like it? Should I do more? I may just spin this one to see how it might look spun up.

Knitting WIPs:

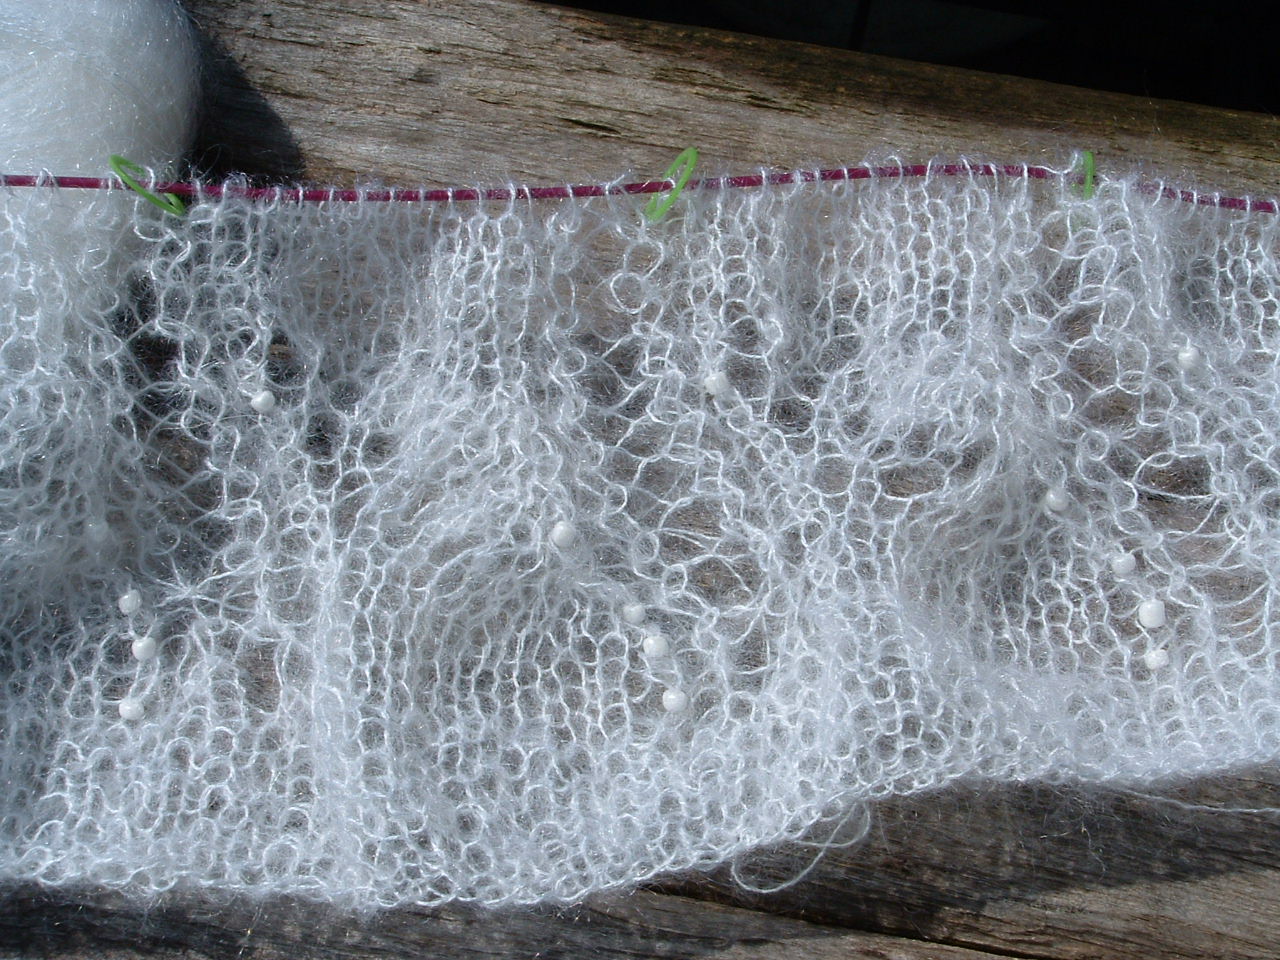
Baltic Sea Stole:

Not coming along as fast as I'd like thanks to only being able to work on this late at night. I messed up with the bead diagram that I have, so I changed it to echo some of the waves in the shawl. I like it just as well as the original diagram. The diagram was obtained through a nice Ravelry person.


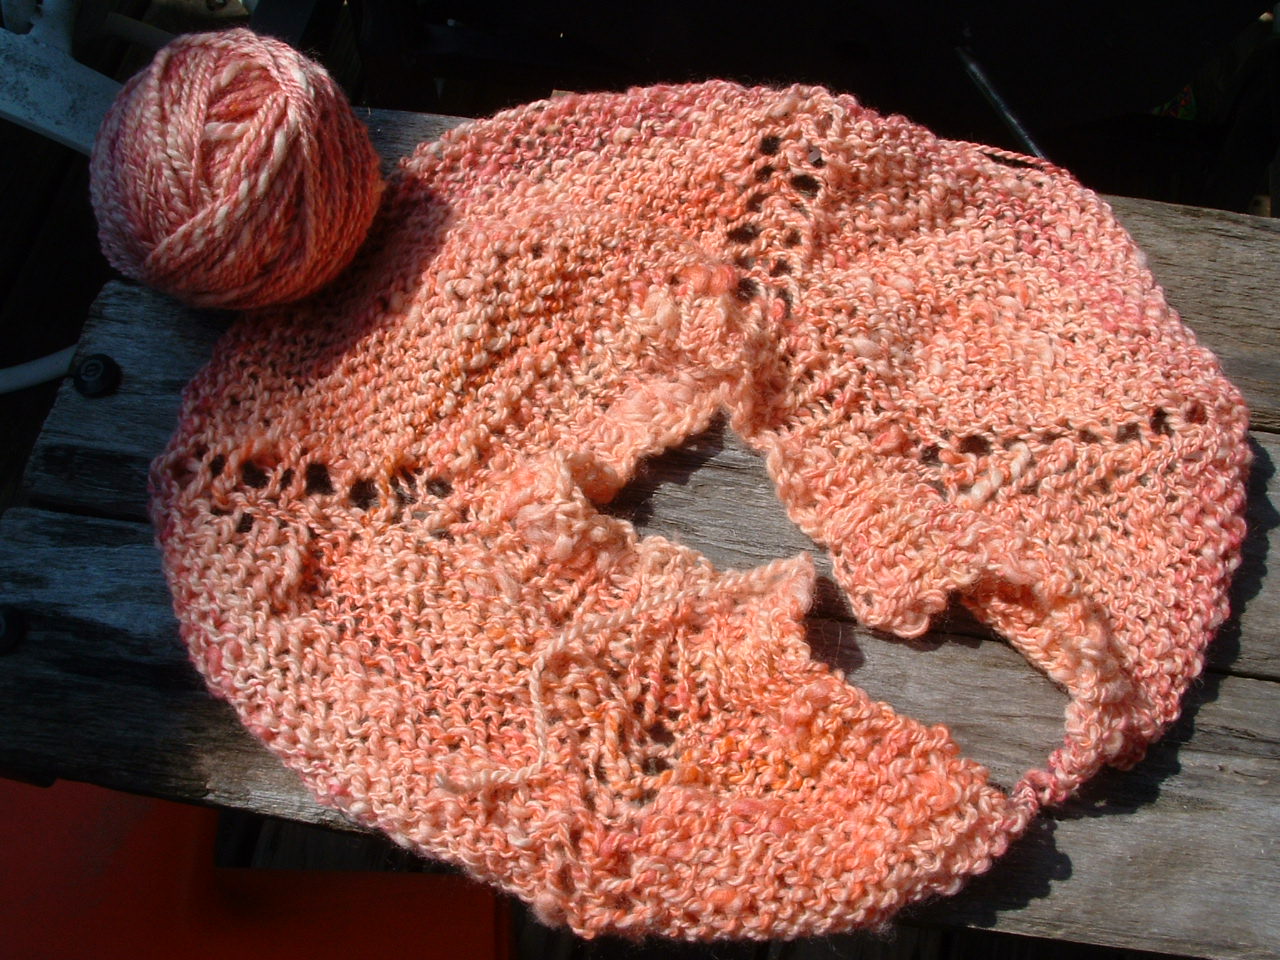
Anthropologie Capelet:

This is now my mindless knitting project. I'm using some handspun that I made from the Spunky Eclectic roving that I got when I ordered my wheel. About a third of the way finished. I'll have to fiddle with it a bit to get it to work. The yarn is thick and thin, not bulky like is called for in the pattern.


And last thing to show you (and it's the last time I'll force you to look at it, promise):

The cedar chest is finished! Didn't it turn out great?


Here it is stuffed with stash. No, not all of my stash, just what I could get to fit in there. :)

Tuesday, July 15, 2008

Just Messin' around

If anyone noticed anything a little strange going on today, it's cause I've been messing around with adding a banner.

Any comments? critiques? anyone care? :)

I may be fiddling around a little more. Please be patient with me. Thanks!

Uggly Roving and Dyepots Galore!

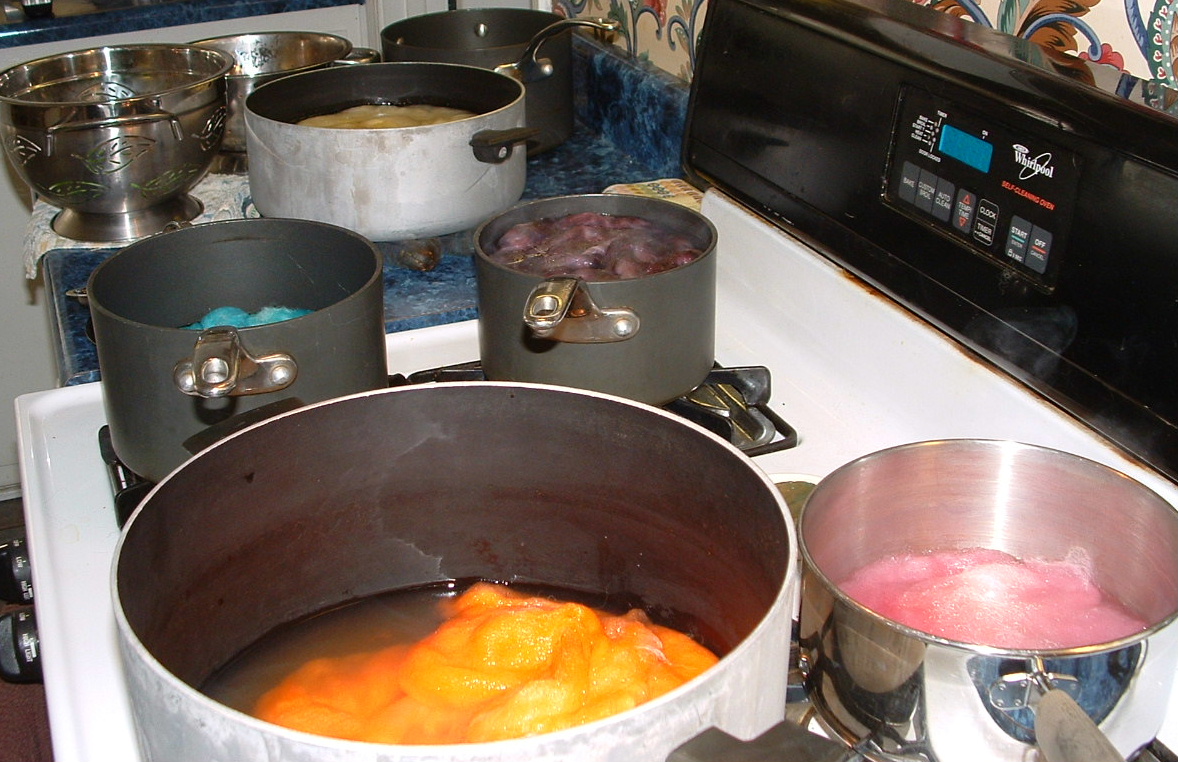
You thought I was kidding about the dyepots didn't you?
8 different pots

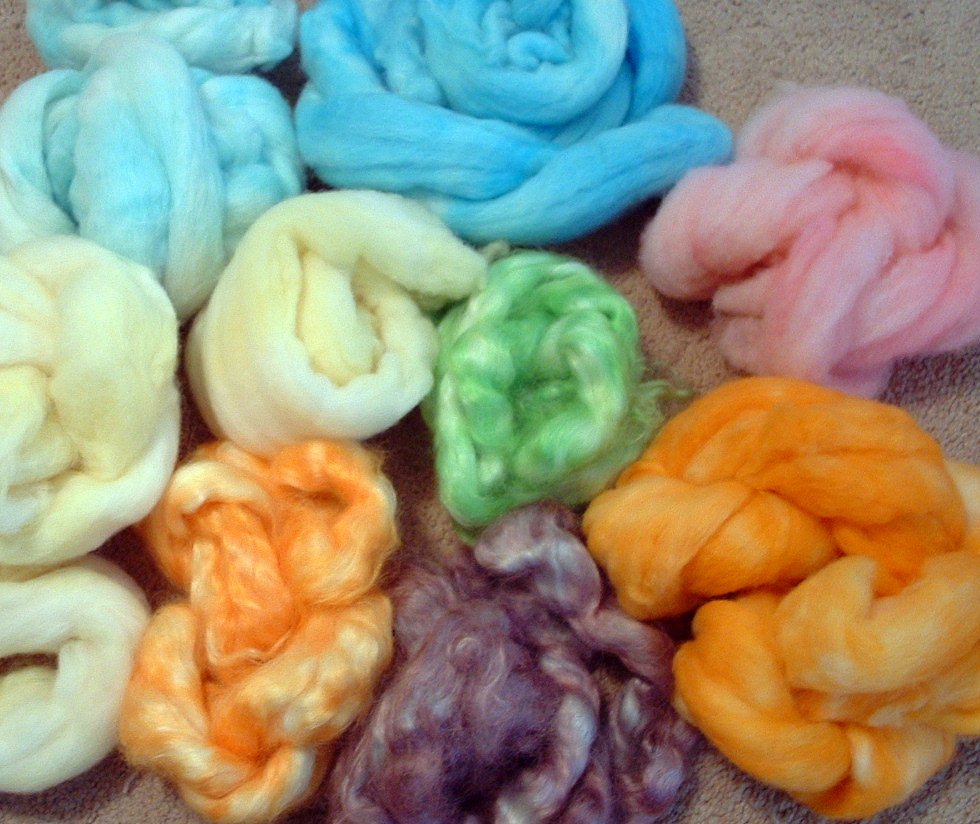
This is what I got for my efforts:


A nice hodge-podge of colors to mix and match. They were produced from kool-aid and Easter egg dyes. The purple, green and small orange in the middle are mohair. The rest are anonymous wools from sheep shed studio. I'm going to mix them with some black to add depth.

While I was busy with dyepots, this is what was going on in the living room:

I think they must've been sick or something. I'm not used to quiet cooperative play in my house. Maybe the tent city had something to do with it. Oh, and yeah,that's Cessna. She's still kicking, so far so good.


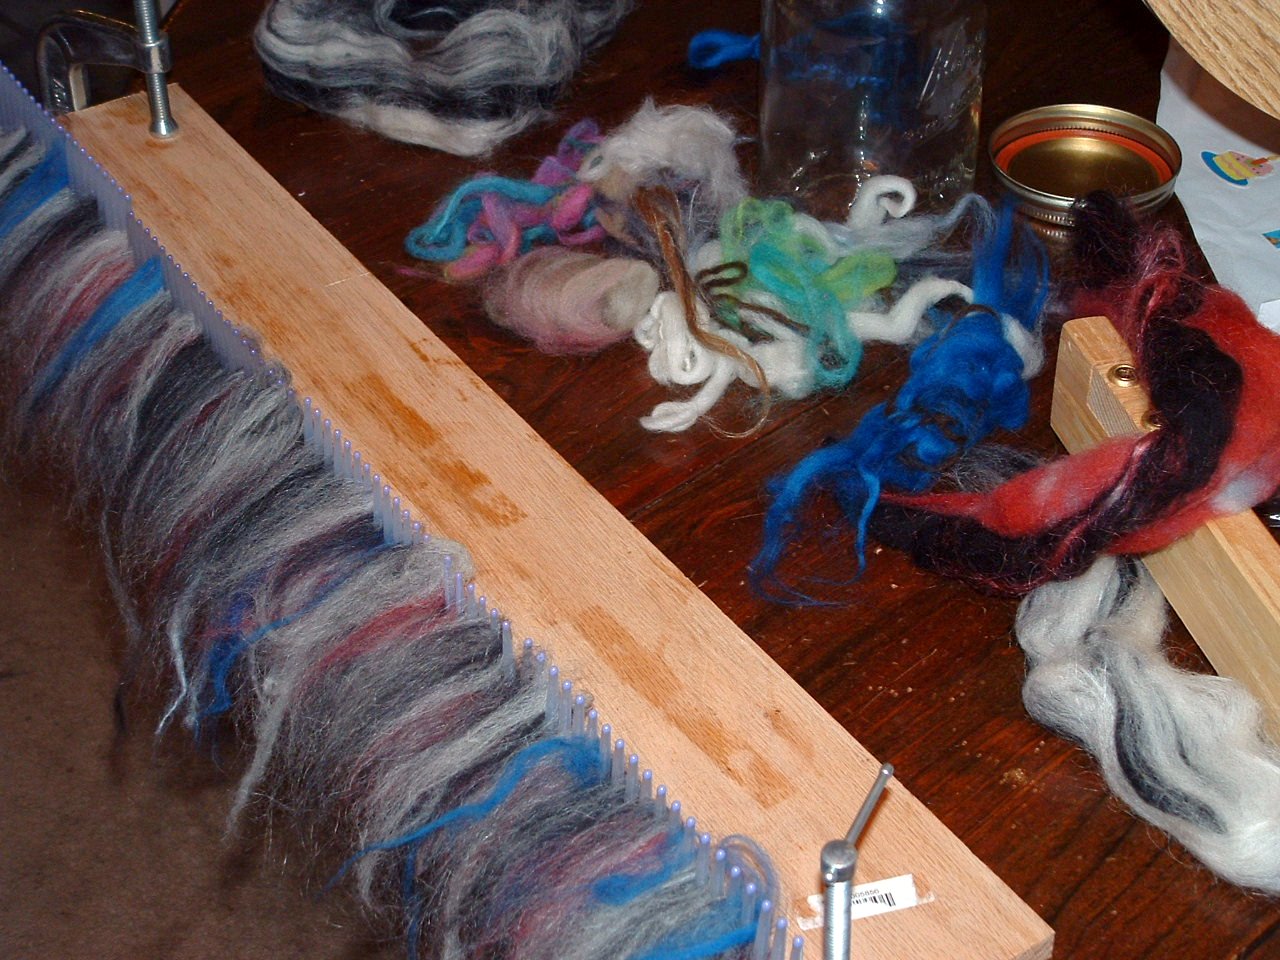
This mixing and matching with the hackle is very addictive. It makes the artsy side of me very happy. I took a bunch of little pieces of fiber that I've been saving in a quart jar on my desk and mixed it with some gray/black/white roving last night when I was supposed to be knitting on the wedding shawl.

Here's a closeup of how it looks on the hackle:

What did I get out of it? Well, most people have Ugly Batts, I have Uggly Roving!


I spun up a little and loved what I got. I apologize for the poor pic of the singles. My camera hates macro stuff.

Monday, July 14, 2008

DIY! My new toy!

This weekend I found a new DIY project to tempt me away from all other responsibilities. I made a Hackle.

What the H*ll is a Hackle you ask?

It's a tool used for combing out and blending fiber which is then pulled through a Diz to make roving for spinning. That's it in a nutshell.

First, I'd like to thank Travis (who is married to the Yarnzombie) from the blog The Land for coming up with this idea which costs about $10 bucks to make. Brilliant. They have a couple of videos at The Land that show you how to use the Hackle along with the how to for making it.


What you need for the whole project:

Combs or hair picks
Board
Self Drilling Screws
Drill - If you use a screwdriver it make take you two years to complete
Diz or Button
Crochet Hook
Board
C Clamps

I made one modification to the project and that was using combs instead of hair picks. That way, I wouldn't have to cut anything off at the bottom. My hubby already gets really nervous when I start these kind of projects. I can't imagine the apoplectic fit he would have had when I went for the jig or circular saws. :)

It's very simple. I grabbed a large vise while working on the project and put the board in it to hold it steady. Then I placed a comb on the edge of the board and used masking tape to hold it steady. The masking tape also helps to keep the screws from traveling all over the place while your drilling and it helps cut down on the scratching and/or splitting of the combs. Then just grab your drill and screws and go to town attaching those combs to the board.


The length of the board is up to you. The longer the board, the longer the piece of roving that you will end up with.

Here it is complete and clamped to the table with the C-clamps:

Here's the button that I grabbed to use as my Diz and the crochet hook used to pull the fibers through the button holes:


Now why on earth would you want to do this? Here's one example for you.

Here's some roving that came in a grab bag when I placed an order at Sheep Shed Studio. I love grab bags, you never know what you'll get. This, though, was fugly and matted. It looked like the hair that comes off the rear end of a mangy dog:
Yuck!
How does it look now after putting it through the Hackle?

Lovely

I'm dying to play with blending different color fibers now. I've got some roving (some wool and some mohair) soaking in the sink now in preparation for dyeing. I'm going to dye 8 different batches of color and then play with the new hackle.