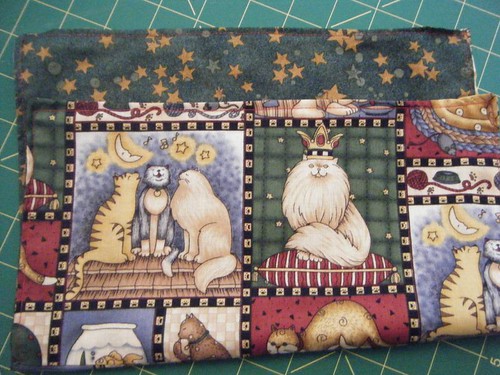
I found a tutorial online, but the only thing that I took away from it was the word reversible and the measurement 13" x 16". Here are some of the completed napkins. The widest part of each seen below is the front and the small sliver that can be seen next to it is the coordinating back of the napkin:
click to enlarge

I have a ton of fat quarters hidden away under all of our beds that are left over from my quilting days. Many of these are really cute and child friendly, so that's what I decided to use. The problem, is that these are only about 8 or 9 inches wide. Here's my solution/tutorial:
To Make Cloth Napkins from Fat Quarters:
1. Choose two coordinating/contrasting fat quarter fabrics.
2. Cut each of them into two equal pieces.
Cutting!

3. With right sides facing, sew the two pieces together on one side only. Do this again for the coordinating fabric.
( I used a quarter of an inch seam allowance for everything except step number 9.)
It's a quarter inch from the right edge of my presser foot to the needle in the center.

Once done, it should look like this:
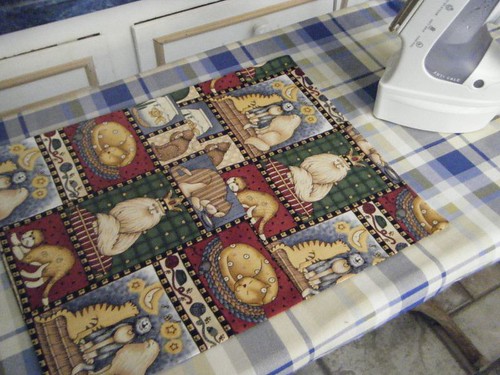
Opened and pressed with an iron

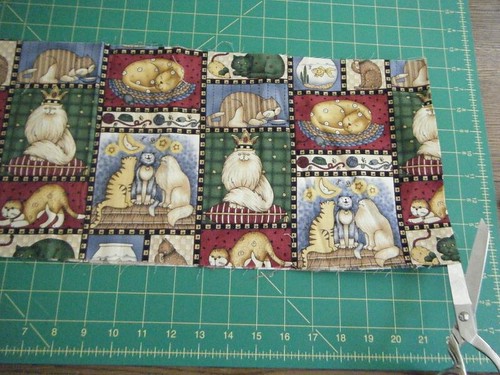
4. Cut the fabric into a 13" x 16" piece. Do this for both fabrics. If it's not perfectly square, don't sweat it. It's napkins, not clothing. Close is okay. If it really bugs you, you can use a see through quilter's square and a rotary cutter to get it perfectly squared up.
13" x 16"
 Once this is done, iron the seam to one side:
Seam ironed and laying to one side.

5. With right sides facing, sew your two 13" x 16" fabrics together, leaving about two inches on one side open.
Left open to turn the fabric rightside out again.

6. Cut the corners off of the napkin so that when you turn the piece inside out, you don't have a lot of unnecessary bulk in each of the corners.
Clip your corners!

7. Turn the napkin inside out. Make sure to push the corners as far out as you can get them for a nice, crisp corner.
8. Iron your napkin. At the two inch opening, turn both sides in and iron this closed as well.
Ironed and ready for top stitching

9. Top stitch around all four sides of the napkin, including the two inches that were originally left open. I top stitched approximately an eighth of an inch from each edge.
10. Pat yourself on the back for a job well done!
Front and Back of the Cloth Napkin

TIP!
To make turning corners easier, Using the wheel on the right side of your machine (if yours has this), make sure your needle is inserted into the cloth and leave it there for a moment.
Needle Inserted

Then, raise the foot: I picked it up even more to show you that the needle is still inserted into the cloth (please excuse the thumbnail - It's paint, not dirt, I promise!)
Foot lifted

Once this is done, rotate your fabric into the direction that you want to go. Lower your presser foot and you are ready to continue sewing.
Fabric Rotated

Enjoy your new napkins!
