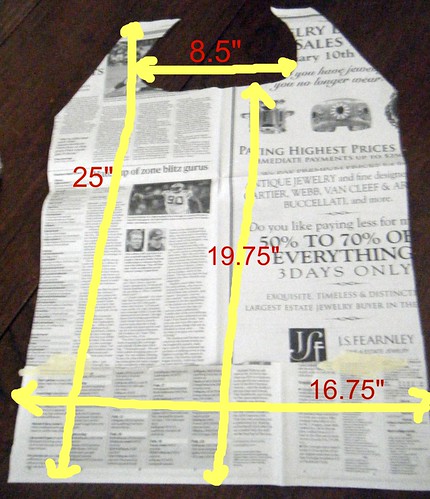
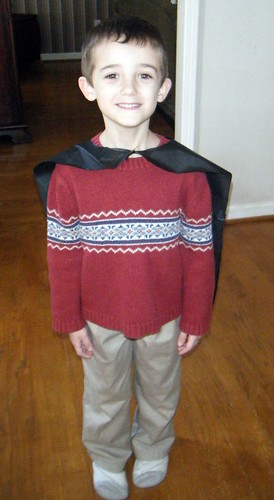
1. The first step is to make a template of your cape. Grab some newspaper. I would also recommend a child to hold it up against, but that's strictly optional. :)
These are the (very crudely drawn) measurements of the ones that I made. This was to fit a five year old boy. I know for a fact that there will be a tiny little girl at the party that this will probably hang on and I'll need to make some adjustments to it for her. Like I said, if you have a child in front of you that you can measure against, it would be really helpful.
I wanted to have the cape fall just below the rear end of the child and not be skimming the floor. This is for a Super Hero, not Darth Vader. If you plan on making a Vader cape, plan to make it twice as long.
Notice that the outsides at the collar edge are angled in. If you do not cut those angles, the cape will not drape right and it will sit all wonky at the shoulders.
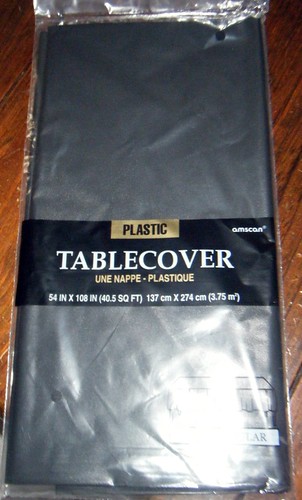
2. The Material. This is where you save the pennies when making this for multiple children. I did not use fabric. Fabric can get really pricey and I just don't have the money right now to shell out that much for this many capes. The next best thing? Plastic Tablecovers! You can find these at Party City or at your local dollar store. I've made all sorts of costume pieces for the stage for children out of this material and it will save you a ton of money.
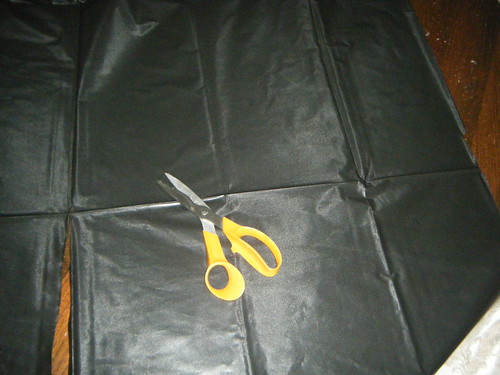
3. The horizontal fold that you see going through the center is the main center fold. I cut along the center fold and then every three rectangles to get the measurements seen above. Use your individual child's measurements to make sure that you have the width and length that you need. The factory folds just made this project easy for me to measure by. With the 54" x 108" table cover, I got enough "fabric" to make 10 capes. I purchased two tablecovers to get my 20.
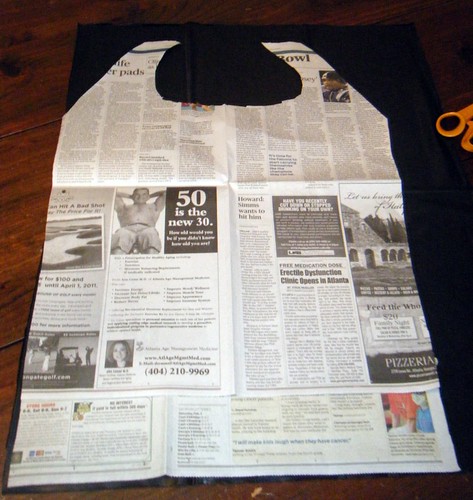
4. Cut to the pattern. When you lay your newspaper pattern on each piece of the tablecover that you have cut, save yourself some cutting time by moving the pattern all the way to corner at the bottom. This way you have two less sides to cut.
5. Cut the fabric out. Then the finishing touches are added. You can add some Sticky Back Velcro, shown below, to the points at the collar to hold it on. In the case of Batman, points were cut out at the bottom of the cape to give it that bat-like effect.
6. Try It On!
BackView
Front View:
So what was the final cost per cape? I spent $1.99 for each tablecover totaling $4.00. Divide that by 20 and it comes out to just 20 cents per child! Not too shabby huh?

