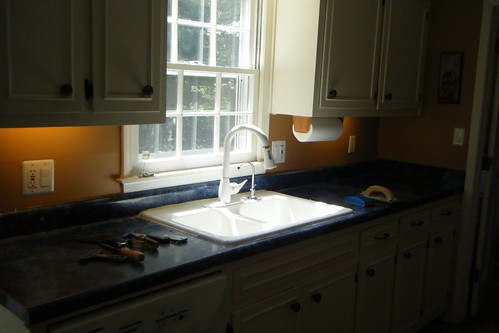
And so we begin again. This is the third and last installment of the counter top renovation. Yay! It feels like I've been dragging this project out forever, but it's almost done. Here's how it currently looks:
This is the largest area that I will have renovated. Normally my microwave is in the far right hand corner and also missing is the crap that seems to accumulate on all flat surfaces in my home. Also not shown: how my other counters are now covered up with the stuff that came off of this counter.
Today I started removing caulk from around the sink in preparation to pulling said sink out. This part totally sucks and I'm not enjoying it. Some of the caulk is almost 30 years old and really doesn't want to give up the ghost. I've resorted to this arsenal to help in its removal:
If that doesn't work I might try some C4 or TNT. Anybody got some to spare?
IF, and that's a BIG IF by the way, I can get the caulk removed sometime today, I'm going to go ahead and put a base coat of paint on the surface. I'll stay about 2 or 3 inches from the sink though since we will be removing the sink tomorrow morning.
The full plan for tomorrow involves sink removal, paint, lots more craft paint, and pouring of resin. Then I get to devise a way to keep two very nosy cats away from the kitchen so that I don't find little cat prints destroying all my hard work later. I will then be deserting the house for a few days while the resin cures. Yes, there will be someone checking on my two deserted kitties so don't send PETA after me, ok? That's a lot to get done in one little day. Wish me luck. Off to do more scraping!


