
First, there was the three, yes three, layers of wall paper to be dealt with. The bottom third layer had no primer underneath so I had to leave it on the walls. I primered over it twice before painting the pumpkin color that is on there now.
Second, the cabinets, that are still not finished. I'm getting there, I promise. My dad came and put wood trim on the cabinet and door fronts. You'll see that in just a sec. I finished painting two set of cabinets and have yet to do the third. You guys, this is a huge kitchen!
Third, and this is what today's post is about, is the countertops. We have been living with the most horrible blue laminate countertops. I cringe when I look at them. I've been abusing them so badly, cutting on them, putting really hot stuff on them and it's made no difference. They're still there. Or, at least, they sort of are.
See, we have an extremely tight budget with no room for budgets or errors. Go ahead and read that as we're almost broke. Go ahead, I don't mind. Being broke is not such a bad thing sometimes, it leads to more creativity. And boy, did we have it in Spades this weekend. Yeah, you read that right, I said "WE". My Mom was the lovely assistant on this project. Thanks to a post over on Craftster, I got inspired.
Here's where we started:
Notice the hideous blue on the countertop. I almost forgot to do the before pic. I remembered after I started the base coat.
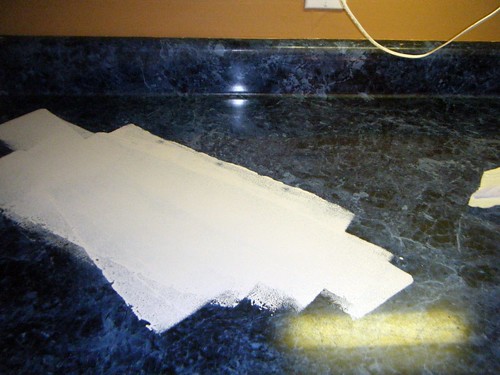
For the base coat, we used the same paint that I'm putting on the cabinets, a biscuit color. Once this dried, we began applying paints using about six different natural sea sponges. The paints were all acrylic craft paints, seen here:

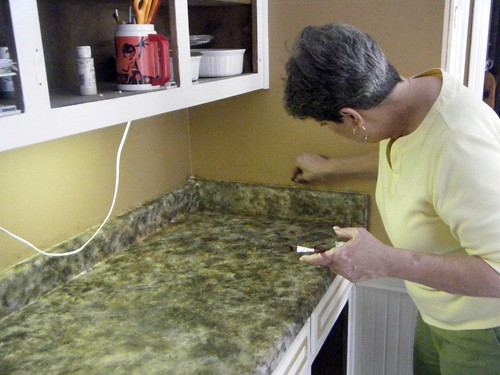
Here's my lovely assistant
The next step, once everything was dry and the Youngest was in bed (around 8pm) we started the cool part. We applied resin. Specifically, Envirotex Lite. I had used this resin before when making study boards. Those were so cool, but I'll have to tell ya about those at another time. Anyway, there's very little time or room for error when using this product. Once mixed, you have 25 minutes to get it the way you want it before it begins to harden.
I only did one countertop this weekend. I wanted to make sure it was going to work before moving on to all of them. This section was 9.66 square feet not including the back splash. I have three more countertops to go, two small ones and one that is about 20 square feet. I figured if the project didn't work, I would just rip it out and buy more laminate which would cost around $1100 dollars if someone else installed it. Installing laminate is not my thing.
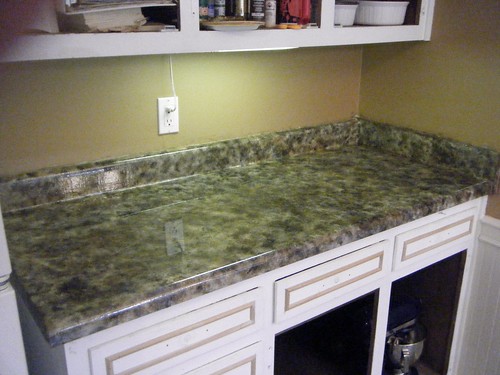
Here's how it turned out:

Oh, and just to show you how good we really are, (I'm not bashful am I?) here's a laminate sample that we used as an example that had all the colors that I was going for:
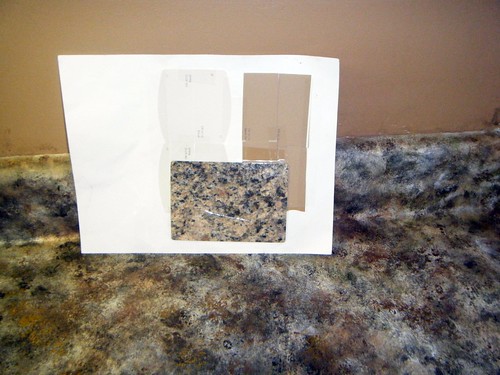
Not bad huh?
I'm so incredibly proud of this project.
We only did one coat of resin. I have one or two more coats to pour on and give it a little more strength.
When all is said and done, we will have saved about $800.00 dollars on this diy countertop project. What do ya think? Doesn't look like laminate now, does it?
ETA the Legalese: Please if you try this make sure you do it safely! Resin can be toxic if handled improperly. Use gloves to minimize skin contact and do this in a well ventilated area. Also, the directions tell you that you can use a torch to help get rid of the bubbles. If you do this, and I didn't because I chickened out, please follow the directions to the letter! Carbon dioxide is what makes them release. I used a straw to blow on the bubbles to release them. I didn't want my house to burn down in the middle of my craft project.