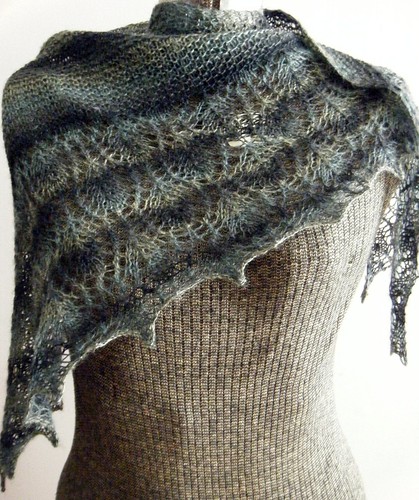
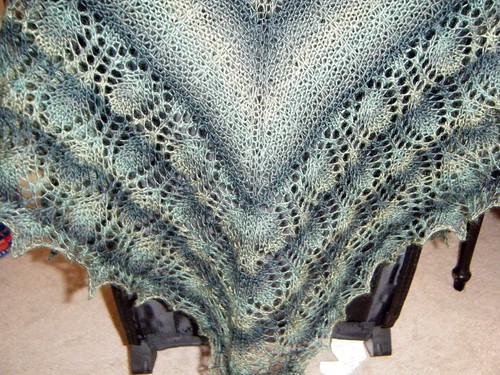
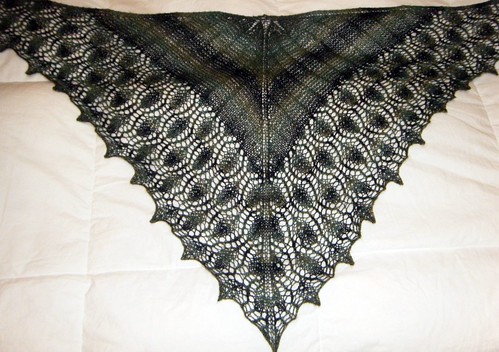
On September 29th I started a test knit for Kitman Figueroa called the Peacock Shawlette (Ravelry Link). After a few minor glitches and one huge one, I finally finished this project. I've been up to my eyeballs busy and haven't been able to get it blocked until now. I think the recipient will be very pleased with her new shawlette. Just look how gorgeous this project turned out:
Yarn used: Lang Yarns Jawoll Magic, fingering weight. Don't you just love all the greens in this?
Tips: If you make this shawl, you are far better off using less stitch markers than more. One on each end between the garter and lace stitches and one on each side of the center stitch will be sufficient. When I tried to use the stitch markers between each of the lace repeats, it just caused major confusion.
This is such a lovely pattern. The lace charts are awesomely easy to follow and it just gets more and more fun to knit as you go along. You go from more stitches to less and the project just gets faster and faster.
Friday, October 15, 2010
Wednesday, October 13, 2010
Super Great Day
My day started off with a real bang. I took a load of Chimera Patterns, Knitting Gift Tags and Stitch Markers to a local yarn shop, Lovin' Knits for them to sell. Not only did she want to sell them, she bought the whole load and requested more.
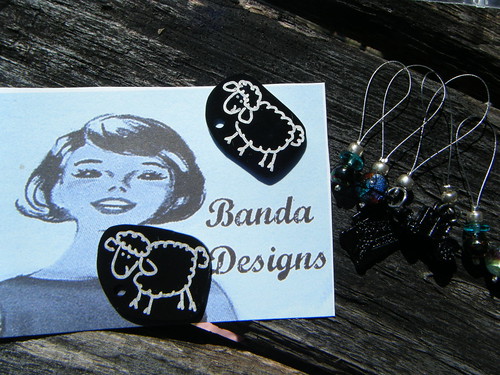
I'm so excited about this! It's a wonderful opportunity to get my name and product out there. It's also a great way for the knitters to have one of a kind, fun stitch markers. No two sets were alike and all are super cute. If you are in the area and get a chance to go by there, look next to the register for the packages that have a similar design to the pic below.
I forgot to take a pic for you to show you the new packaging that I came up with, but this is a sample of the card that they are mounted on and some examples of the hand drawn sheep that I used for some of the gift tags and stitch markers:
When I get some new packages put together I'll make sure and get some proper pics for you.
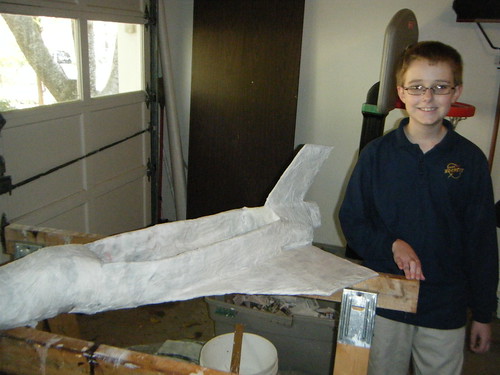
We also tackled the Space Shuttle Project today. We have finished the newspaper and glue part and are now gluing cheap paper towels on top to get a smoother finish. Cheap paper towels are a lot better way to go, by the way. The super thick soft paper towels just cause a huge mess. Besides a smoother finish, the paper towels also add more strength to the project as a whole thanks to all those absorbent cotton fibers.
Something doesn't look right does it? Something missing? Yep. The cargo bay doors are on the floor and not shown. They will be hinged in so that they can be opened once everything is painted and sealed.
Tomorrow, if everything is completely dry, The Eldest will begin spray painting it white and then we'll add the detail. To finish it off, he'll be applying another "Mmodge Podge" type coating to make it shiny and to seal the paint.
It's coming along nicely and should be finished just in time for him to turn it in. I'm looking forward to this project being completed. It's been a huge time consuming project and has caused the boy tears a couple of times, but I think he's done a fabulous job, don't you?
Tuesday, October 12, 2010
Mother Necessity
The Eldest decided that he wanted to be a Lego Minifig for Halloween. If you are not familiar with the term Minifig, it's short for mini-figure. Basically, it's a Lego Person. I did a lot of online research and decided to emulate these guys and their costumes.
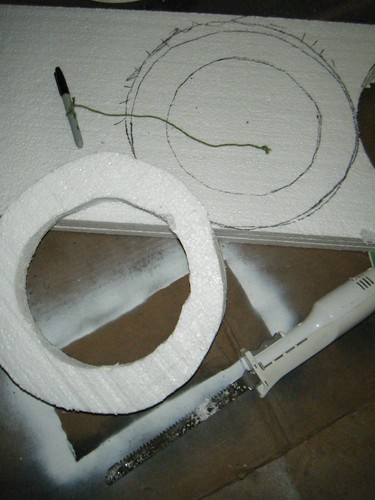
The first problem that I ran into is that the 3 inch thick styrofoam sheets are not to be had in my area. But, I did find some 3/4" thick ones that I gorilla glued together and it worked like a charm.
The second problem was cutting the styrofoam. I didn't have anything near me that would cut this stuff neatly. Or did I?
Mother Necessity is a wonderful DIY deity and she showered me with her blessing in the form of a, wait for it,
- A bread knife. Yes, I said a bread knife. I wasn't that worried about dulling the blade (and styrofoam will definitely dull the heck out of a blade) because I haven't used it for it's intended purpose in years anyway. That wonderful tool went through that styrofoam like buttah and with a minimum of mess!
The circle isn't perfect, but that's my fault, not the knife's. I'm not worried a bit about it since it doesn't have to be perfect anyway. We'll be covering it with posterboard and joint compound and then spray painting it a Lego yellow. So it really does not have to be perfect at this stage.
Who really needs proper power tools anyway? Kitchen tools rule!
Monday, October 11, 2010
Look What the Yarn Fairy Brought
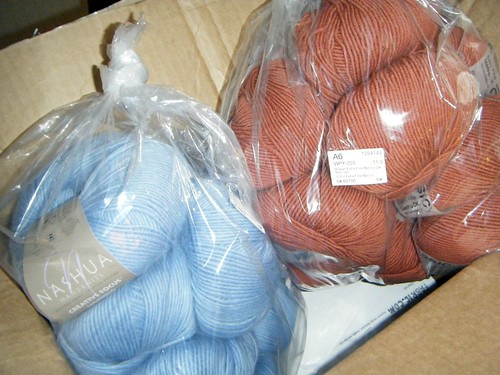
I mentioned on Friday that Fabric.com was having a big sale on Rowan Yarn. Well, look what the Yarn Fairy brought me today:
I can't believe how fast this shipment got here. What awesome service. I will definitely be ordering from these folks again. There's two sweaters worth of yarn in those two bags and the cost comes to around $20 bucks for each sweater. You just can't beat that price.
The blue is actually closer to a periwinkle blue in real life and is a worsted 75% wool/25% alpaca mix. The rust color is pretty accurate and is an extra fine merino DK. I've already go the sweater patterns picked out for these and can't wait to get started. It'll be a few days before I can get started on it, but I'm so wanting to start now! now! now!

